A dripping faucet is often a sign that one of the components has worn out. The location of the drip and the mechanical make-up of your faucet dictate how you repair the faucet. When choosing a faucet, displacement, disc, cartridge, and operation are all factors to consider.
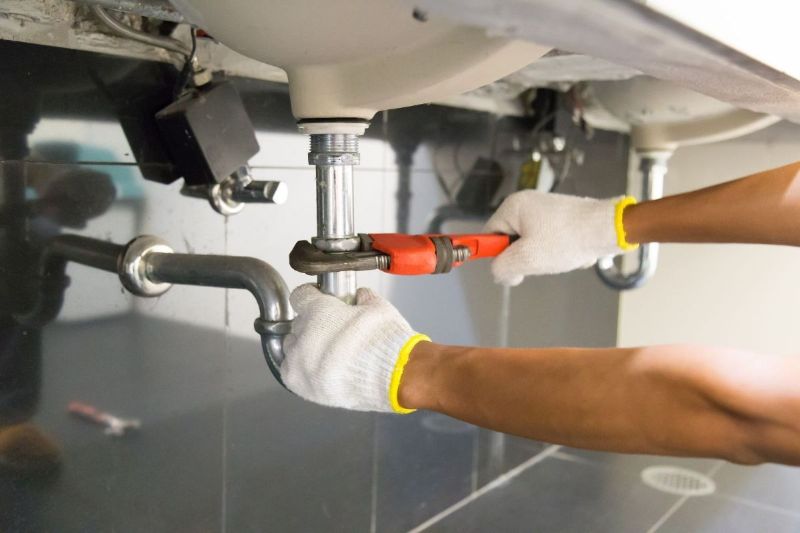
A leaky faucet can be tricky to fix, so before you start, figure out what kind of faucet it is and how to fix it. To get started, you'll need the following equipment:
The valves are usually covered in decorative covers if you've had a broad faucet. Try unscrewing the trim piece if the valve assembly has a fine thread. You'll discover a screw beneath each knob that connects the grip to the stem. Remove the handle by carefully unscrewing it. Occasionally, the faucet handle is difficult to remove from the stem. To make it easier to remove, wet the area with WD-40.
Upon loosening the packing nut, the stem should be visible. This is the only portion you want to remove. Depending on the faucet you choose, your approach will diverge at this point. For example, some stems come out by themselves, whereas others twist out of the valve stem. Gently remove all of the items. To avoid aggravating an already-complicated leaky faucet issue, avoid harming any components.
For a tap that is less than 25 years old, you may be sure that a cartridge is installed. The seats are worn out after 25 years of on-and-off use. Using a pair of channel locking pliers, try to remove the cartridge. When the scale has grown up and sealed the cartridges, it can be challenging to remove them. While tugging, gently shake the cartridge to free it from its resting place. Call a plumber if you can't get it out on your own. Cartridges can be removed with special tools.
Everything ought to have stayed together up until this point. Examine the washer as well as the O-ring that is located inside the valve seat. When this component is damaged, or the seal begins to wear down over time, it frequently results in leaks. You are going to take out the washer, and then you will put in the new washer.
It would help if you also considered replacing the O-ring because there is a high likelihood of damage occurring to this component. Before you go and replace your O-rings and washers, you should make sure that it fits appropriately first. If you doubt either of these things, look at the seat to see whether the sides will do with the round washer. You may need to purchase a different size.
Take the O-ring in question to a hardware store to have an exact fit made for it if you are having trouble obtaining the correct size O-ring to use. Inspect the sides of the seat to see if they will fit the cone form. Those who are unsure about this may check their heart. After that, you will be able to purchase the necessary O-ring. You can ditch the idea of bringing an old O-ring with you to the hardware shop instead of buying a package that has a selection of O-rings in a range of sizes. Although it will set you back an additional few dollars, it will be well worth the money to obtain the required size.
Once you have all the components, the next step is to put everything back together. When putting it all back together, these steps will be performed in the following order:
Advice and Solutions to Common Problems
After you have disassembled your faucet and put it back together, you need to make sure that it does not leak any water after you put it back together. If it occurs, the problem could not be just a blown O-ring but something more serious. The second issue, which happens frequently, is corrosion with the valve.
This occurs when it is allowed to become unclean over time, which ultimately results in a leak located closer to the vent of the faucet. If that doesn't work to fix your leaking pipe, other probable issues include faulty lines, worn-out seals, or loose parts. If none of these solutions worked, it is probably time to bring in the powerful guns and contact a plumber.
Putting Everything Into Perspective
If this occurs, you will need to locate the point where the water comes into the house to turn it off. Bear in mind that if you turn off the water valve, the occupants of the entire house will start complaining about the lack of water. Nevertheless, there are situations when it has to be repaired.